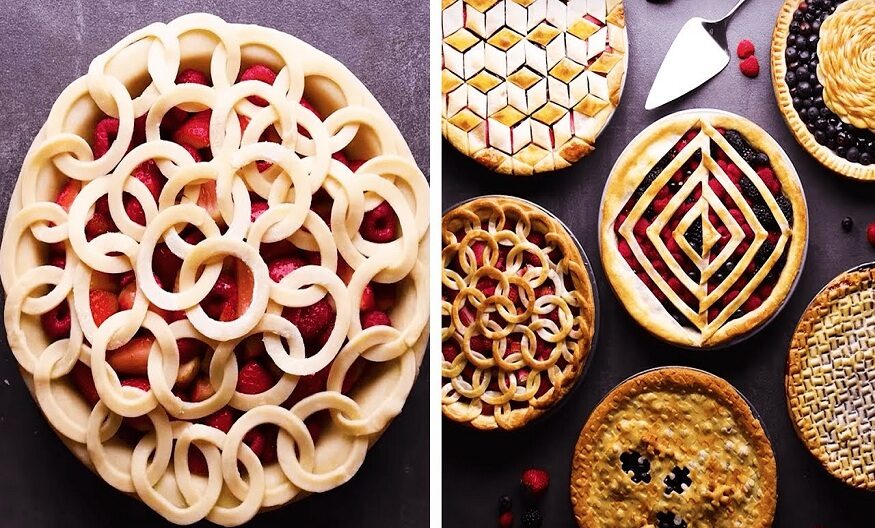
Who doesn’t know apple pie? A more than a popular dessert that has many variants. On this occasion, we will prepare it with a biscuit and butter base, which is done very easily and quickly. This homemade apple pie requires very few ingredients, and to weigh them, and we will need a 200ml glass, which we will use as a measuring cup for all the other ingredients.
Ingredients for 4 people:
- 100g of maría biscuits
- 50g of butter
- Six medium apples
- One glass of 200ml of milk
- One glass of 200ml of flour
- 1/2 glass of 200ml of sugar
- 150g of peach or apricot jam. It pairs perfectly with apple pie.
How to make the easy apple pie step by step
We crush the cookie. You can do this with an American mixer, a manual mixer, or by putting the cookies in a bag and shaking them with a rolling pin.
Put this mixture in the bottom of a removable cake pan. With these quantities, in one of 18-20cm, it will be fine. We spread the mould with oil or more melted butter (so that the cake does not stick), introducing the mixture of biscuit and butter. We crush it and spread it over the entire mould surface to compact it well.
Now, again in an American blender or mixing glass, add 4 of the peeled apples, without the core and cut into cubes, the flour, the milk and the sugar. We shred everything well.
We introduce this mixture -which will be the apple pie filling- on the biscuit and butter base. On top, we peeled the other two apples and cut them into skinny slices. Then, arrange them a bit wildly, randomly, or try to give them a harmonious shape if you care about decoration.
Put it preheated (180ºC) oven. We leave here for about 50 minutes.
Afterwards, we take it out and let the apple pie cool down. Advice. In this case, please do not trust the old trick of pricking with the toothpick because this cake does not finish curdling until it has cooled completely. Therefore, it is better to wait for it to cool down.
Once out of the oven, and after it has cooled a bit, unmold it and paint it all over its surface with the jam. It will give it a bright touch and significantly improve its flavour.
It is easy to prepare this apple pie. However, there are more complicated variants, but due to its simplicity and the fact that it is also delicious, this is my favourite recipe for this dessert!
Homemade chocolate coulant. Easy recipe.
The coolant is a dessert of French origin that has become popular worldwide. The reason is simple: it is a small filled chocolate cake that, served hot, becomes a volcano of melted chocolate. Simply irresistible. But of course, something like this cannot seem very easy. However, it is not. Preparing it does not entail much difficulty -you do not have to fill biscuits-just prepare a mixture, pour it into moulds and bake it until the cover is fluffy and the interior is still liquid.
Ingredients:
- 12 small moulds to bake the mixture (you can buy disposable ones in supermarkets)
- 220g of chocolate to melt
- 150g of butter
- 150g sugar
- 120g of flour
- Three eggs + 1 yolk
- cocoa powder
- One pinch of salt
Home chocolate coolant recipe:
1.- In a small saucepan, place the chocolate and butter, both cut into small pieces. We put it in a water bath and leave it for 5 minutes, stirring from time to time with a spatula, until everything has completely melted. Remove and let cool for a few minutes.
2.- In a large bowl, put the eggs plus a yolk that will add creaminess to the mixture, add the sugar and beat with a rod until the mixture is homogeneous.
3.- Once this is done, add the melted chocolate with the butter to this mixture until everything is well integrated.
4.- When it has been integrated, we add flour. So that there are no lumps, it is preferable to sift it and stir as it is added. Gradually, the mixture will thicken, but don’t worry; the chocolate will melt perfectly when baked.
5.- With the dough prepared, we will prepare the containers for the chocolate coolant. To do this, spread the entire interior of each mould with a bit of butter and sprinkle cocoa powder on the bottom and walls. This will make it easier to unmold the coolants, and they will not break when unmolding them.
6.- Add the mixture to the moulds, cover them with aluminium foil and store them in the freezer for a couple of hours.
7.- After the time, we preheat the oven to 220ºC. The idea is to heat each coolant well, so they cook well on the outside and are melted inside. When the oven is hot, remove the foil and place them in the oven for 10-15 minutes. Depending on the power, size and type of oven, they can be done faster or a little slower, so we recommend keeping an eye on them.
8.- Once we see that the exterior is curdled, we remove them from the oven and pass a toothpick around the edges to facilitate unmolding. If, when doing so, it comes out whole and inside the chocolate is liquid and creamy, you will have your coolant ready.
Sometimes, depending on each oven that is a world, it is necessary to do tests to avoid removing the coolants too soon for the outside to set or too late for the inside to set. In that case, you can take one out a little ahead of time and see the result.
As you can see, following the indicated steps, it is easy to make a chocolate coolant, a recipe with which you will surely succeed.
